Der BRU Maker One ist bei Ihnen eingetroffen, wie geht es nun weiter? Hier erfahren Sie, wie Sie loslegen:
- Öffnen Sie den Karton und nehmen Sie die beiliegende Bedienungsanleitung zur Hand. Oder laden Sie sie hier. Bitte lesen Sie sorgfältig alle Sicherheitshinweise und Anweisungen.
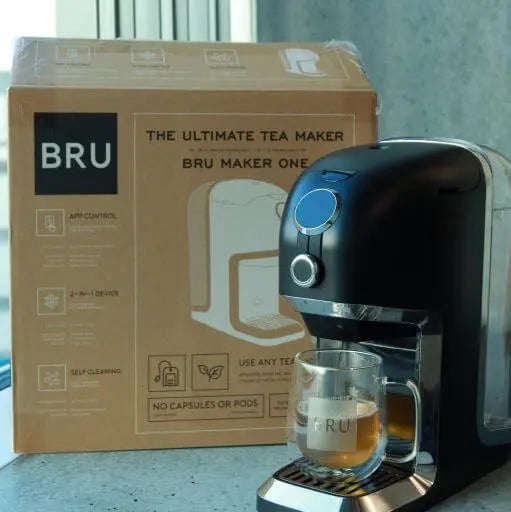
- Nehmen Sie den BRU Maker One vorsichtig aus der Verpackung heraus. Es kann sich etwas Staub auf der Maschine befinden, denn wir verwenden der Umwelt zu Liebe recycelte Kartonelemente. Entfernen Sie den Staub ggf. mit einem leicht angefeuchteten Tuch.
- Vergewissern Sie sich nach dem Auspacken, dass das Produkt vollständig und unbeschädigt ist und dass alle Zubehörteile vorhanden sind.
- BRU Maker One Maschine
- Netzkabel (mit dem richtigen Netzstecker für Ihr Land)
- Wassertank
- Wassertankdeckel
- Teesieb
- Teesieb-Deckel
- Brühkammer aus Glas: In der Verpackung befindet sich ein separater Kartoneinsatz. Darin ist die Glasbrühkammer enthalten. Gehen Sie beim Öffnen behutsam vor. Legen Sie den Karton auf eine ebene Fläche und schneiden Sie das Klebeband vorsichtig auf.
- Silikon Düse (bereits montiert)
- Magnetische Tropfschale
- Abtropfgitter
- Rückstellstift
- Bedienungsanleitung
Sollte eines der Teile beschädigt sein oder fehlen, wenden Sie sich bitte an unseren Kundendienst.
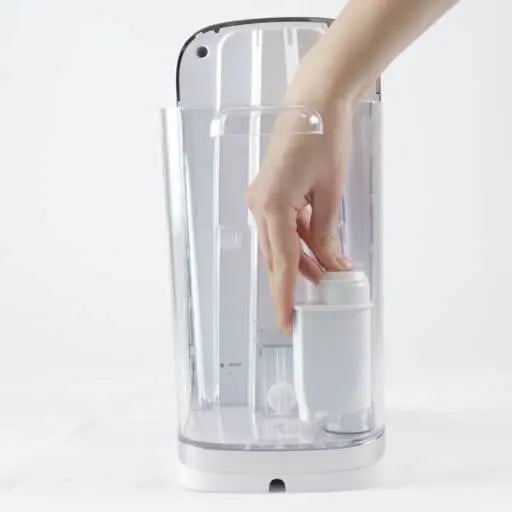
- Nehmen Sie den Wassertankdeckel von der Maschine ab und schieben Sie den Wassertank nach oben hin aus der Maschine.
- Spülen Sie den Wassertank, den -deckel, das Teesieb, dessen Deckel und die Brühkammer mit sauberem Wasser aus. Lassen Sie alle Gegenstände vollständig trocknen, bzw. trocknen Sie diese nur mit einem weichen, geeigneten Tuch.
- Platzieren Sie den BRU Maker One auf einer ebenen und stabilen Fläche.
- Neigen Sie Ihren BRU Maker One vorsichtig, um das Netzkabel an der Unterseite anzubringen. Wickeln Sie das Netzkabel, auf die von Ihnen gewünschte Länge, im Kabelschacht auf.
- Überprüfen Sie den korrekten Sitz der Silikondüse. Ziehen Sie hierzu vorsichtig am überstehenden Ende. Wenn nichts verrutscht, dann sitzt sie optimal und Sie können direkt loslegen!
- Öffnen Sie den Maschinendeckel, um die Brühkammer und das Teesieb mitsamt Deckel einzusetzen. Schließen Sie den Maschinendeckel wieder.
- Füllen Sie den Wassertank mit Wasser und setzen ihn anschließend wieder ein. Stellen Sie sicher, dass er richtig sitzt. Ist dies nicht der Fall, richten Sie ihn korrekt aus und schieben Sie ihn von oben her in die Maschine rein. Schließen Sie den Wassertank mit dem zugehörigen Deckel.
- Befestigen Sie die magnetische Tropfschale (mit Abtropfgitter) und stellen Sie eine Tasse unter den Ausguss.
- Schließen Sie das Gerät an eine Steckdose an.
- Nun führen wir einen Brühvorgang zur Reinigung ohne Tee durch:
- Zunächst erscheint der Willkommensbildschirm mit der 'HELLO BRU'-Anzeige. Warten Sie, bis Sie diesen Bildschirm sehen:

- Drehen Sie den mittleren Knopf nach rechts, bis Sie zum Bildschirm "DISPENSER" gelangen:

- Drücken Sie die linke Taste, um „SETUP“ auszuwählen.
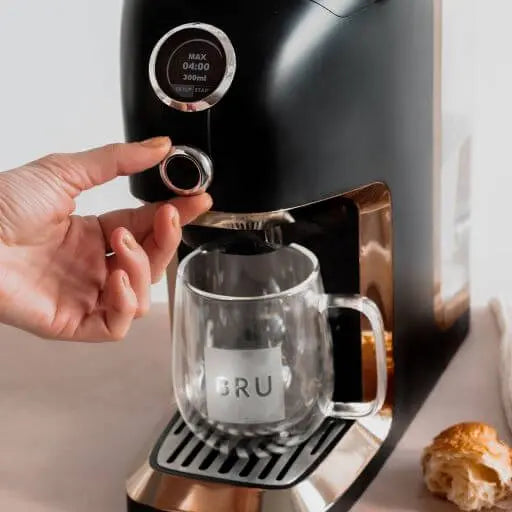
- Stellen Sie die Wassertemperatur "MAX" ein, indem Sie den mittleren Knopf nach rechts drehen. Drücken Sie „NEXT“.
- Stellen Sie die Wassermenge auf 100 ml ein, indem Sie den mittleren Knopf drehen. Drücken Sie „NEXT“.
- Drücken Sie „START“.
- Die Maschine gibt heißes Wasser in die Tasse aus. Dies ist nicht zum Trinken geeignet!
- Drehen Sie den mittleren Knopf nach links, bis Sie wieder zum Hauptmenü gelangen. Ihr BRU Maker One ist betriebsbereit. Sie können nun mit dem Aufbrühen beginnen!
Hinterlasse einen Kommentar
Alle Kommentare werden vor der Veröffentlichung geprüft.
Diese Website ist durch hCaptcha geschützt und es gelten die allgemeinen Geschäftsbedingungen und Datenschutzbestimmungen von hCaptcha.