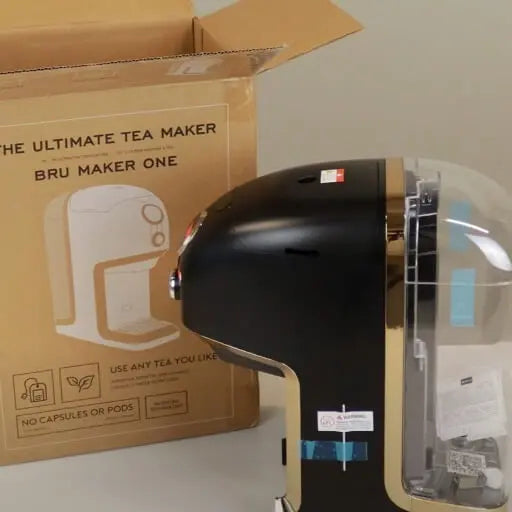
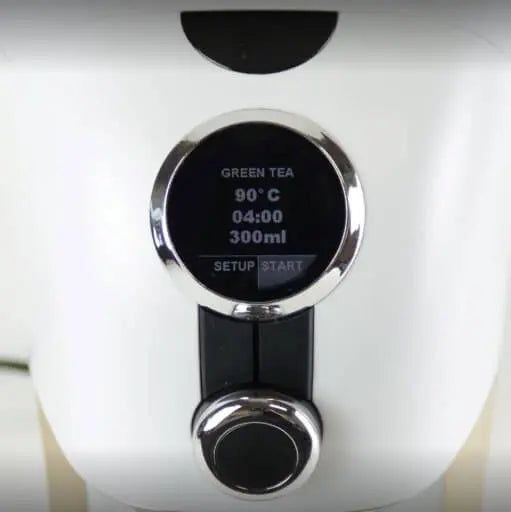
Go to the Machine settings menu to edit the settings of your BRU Maker One . Here you will find everything you need to know about the settings.
What settings are available?
S1. Current time
S2. Flush
S3. Flushing intensity
S4. Flush delay
S5. Multiple infusion
S6. Dispenser
S7. Timer
S8. Cooling down
S9. Screensaver
S10. LED
S11. Totals
S12. Languages
S13. Units
S14. Time format
S15. Chamber examination
S16. Bluetooth
S17. Connect new device
How do I access the settings?
Call up the main menu, turn the main knob until you reach the Machine settings menu, click on "ENTER". Turn the main knob to switch to the various settings.
Explanation of the individual settings
S1. Current time
Set the time here. It is used for the timer mode and for the digital clock. It can also be used as a screen saver.
- To change the time, press "EDIT"
- The time format can be changed from 12 to 24 hours (see S14). Time format.
S2. Flush
The BRU Maker One has an automatic cleaning function that rinses the glass brewing chamber after each use. In this blog post we explain the function in detail.
- Determine where the rinse water should be discharged to by pressing "EDIT".
- Select the receptacle (cup, drip tray) or switch off the function and confirm with "SAVE".
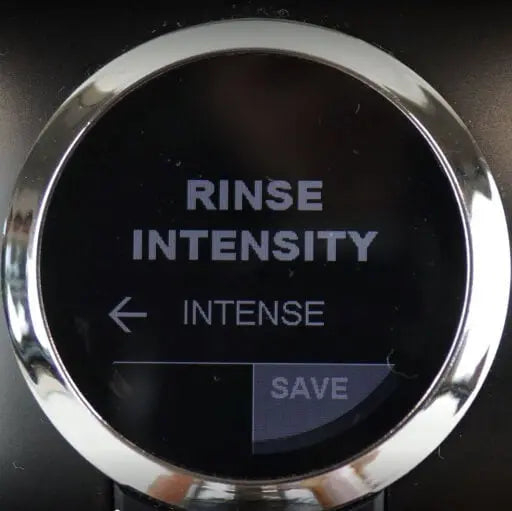
S3. Flushing intensity
To explain the function in detail, we have dedicated a blog post to it. You can find it here.
- To change the flush intensity, press "EDIT".
- Then select the flush intensity (normal, intensive, short) and confirm with "SAVE".
S4. Delay time for flushing
As the flushing function requires a detailed explanation, we have dedicated an entire blog post to it. You can find it here. The flush delay is an advanced setting that is used exclusively for troubleshooting. Therefore, please read the corresponding blog post before making any changes to the setting.
- To change the flush delay time, press EDIT.
- Then select the duration by which cleaning should be delayed (between 0 and 60 seconds) and confirm with "SAVE".
S5. Multiple infusion
You can use this to switch the multiple infusion function on or off. If you are not using the multi-steeping function, you can hide/deactivate it so that it is not displayed in the menu items. You can return to this setting at any time to display/activate the multi-steeping function again.
- To activate/deactivate the multi-steeping menu, press EDIT.
- Then select "ACTIVATED" or "DEACTIVATED" and confirm with "SAVE".
S6. Dispenser
Use this to show the dispenser function (M6.) on or off. If you are not using the dispenser function, you can hide/deactivate it so that it is not displayed in the menu items. You can return to this setting at any time to display/activate the dispenser function again.
- If you want to deactivate or activate the "Dispenser" menu, press EDIT.
- Then select ACTIVATED or DEACTIVATED and confirm with "SAVE".
S7. Timer mode
Use this to show the Timer mode (M7.) on or off. If you are not using the timer mode, you can hide/deactivate it so that it is not displayed in the menu items. You can return to this setting at any time to display/activate the timer menu again.
- If you want to deactivate or activate the timer menu, press "EDIT".
- Then select ACTIVATED or DEACTIVATED and confirm with "SAVE".
S8. Cooling function
Use this to switch on the cooling function (M8.) on or off. If you are not using the cooling function, you can hide it. You can return to this setting at any time to display/activate the cooling function again.
- If you want to deactivate or activate the cooling function, press "EDIT".
- Then select "ACTIVATED" or "DEACTIVATED" and confirm with "SAVE".
S9. Screensaver
If the device is not used for 90 seconds, the screen saver is activated automatically. You can set the energy-saving mode to various settings:
Logo: displays the BRU logo
Clock: displays the current time
Dark: no display
Off: The screen saver is not activated.
- Press "EDIT" to change the screen saver.
- Then select the desired screen saver and confirm with "SAVE''.
S10. LED
The BRU Maker One has LED lights that indicate the brewing process .
Red = the brewing chamber is being filled
Orange = your tea brews
Green = your tea is ready to drink
You can switch these LED lights on or off.
- Press "EDIT" to change the LED setting.
- Then select "On" or "OFF" and press "SAVE".
S11. Totals
The BRU Maker is equipped with a buzzer. This emits a sound as soon as the preparation of your tea is complete or if there is an error/warning.
You can switch off the signal tone using the "BUZZER" setting.
- To change the setting of the acoustic signal, press "EDIT".
- Then select "ON" or "OFF" and confirm with "SAVE".
S12. Languages
This setting allows you to change the language of your device.
NOTE: Additional languages will be added over time. An overview of which languages are currently available and how to add languages to your device can be found here.
- To change the language setting, press "EDIT".
- Then select the desired language and confirm with "SAVE".
S13. Units
This allows you to set the units used to either the metric (°C, ml) or imperial (°F, oz) system.
- To change the unit setting, press "EDIT".
- Then select metric or imperial and confirm with "SAVE".
S14. Time format
This setting allows you to set the time format of the digital clock and the timer function to 24 hours or 12 hours.
- To change the time format, press "EDIT'".
- Then select 24H or 12H and confirm with "SAVE".
S15. Chamber examination
This setting is used to switch the brewing chamber check on or off. There is a sensor in the brewing chamber of the machine that detects whether the glass brewing chamber is inserted. If this is not the case, an error message is displayed. The brewing process is prevented from starting. This prevents possible damage to the machine that could be caused by brewing without a glass brewing chamber.
IMPORTANT NOTE: This is an advanced setting for troubleshooting purposes only. Please DO NOT make any changes to this setting unless instructed to do so by our customer service department.
S16. Bluetooth
Use this to switch Bluetooth on your device on or off. Bluetooth must be activated so that your device can connect to the BRU app. Further information on how to connect your BRU Maker to your smartphone and how to use the app can be found here.
- To activate or deactivate the Bluetooth function, press "EDIT".
- Then select "ON" or "OFF" and confirm with "SAVE".
S17. Connect to new device
This function allows you to connect a new device to your BRU Maker One . You can find more information about pairing your device and the app functions here.
- To connect a new device, first make sure that Bluetooth is activated (both on your smartphone and on your BRU Maker One) and confirm with "ENTER".
- The "Waiting for connection" display appears.
- Check whether the number displayed matches the number on your mobile device. Confirm with "YES" or press "NO" to try again.


Leave a comment
All comments are checked before publication.
This website is protected by hCaptcha and the terms and conditions and privacy policy of hCaptcha apply.