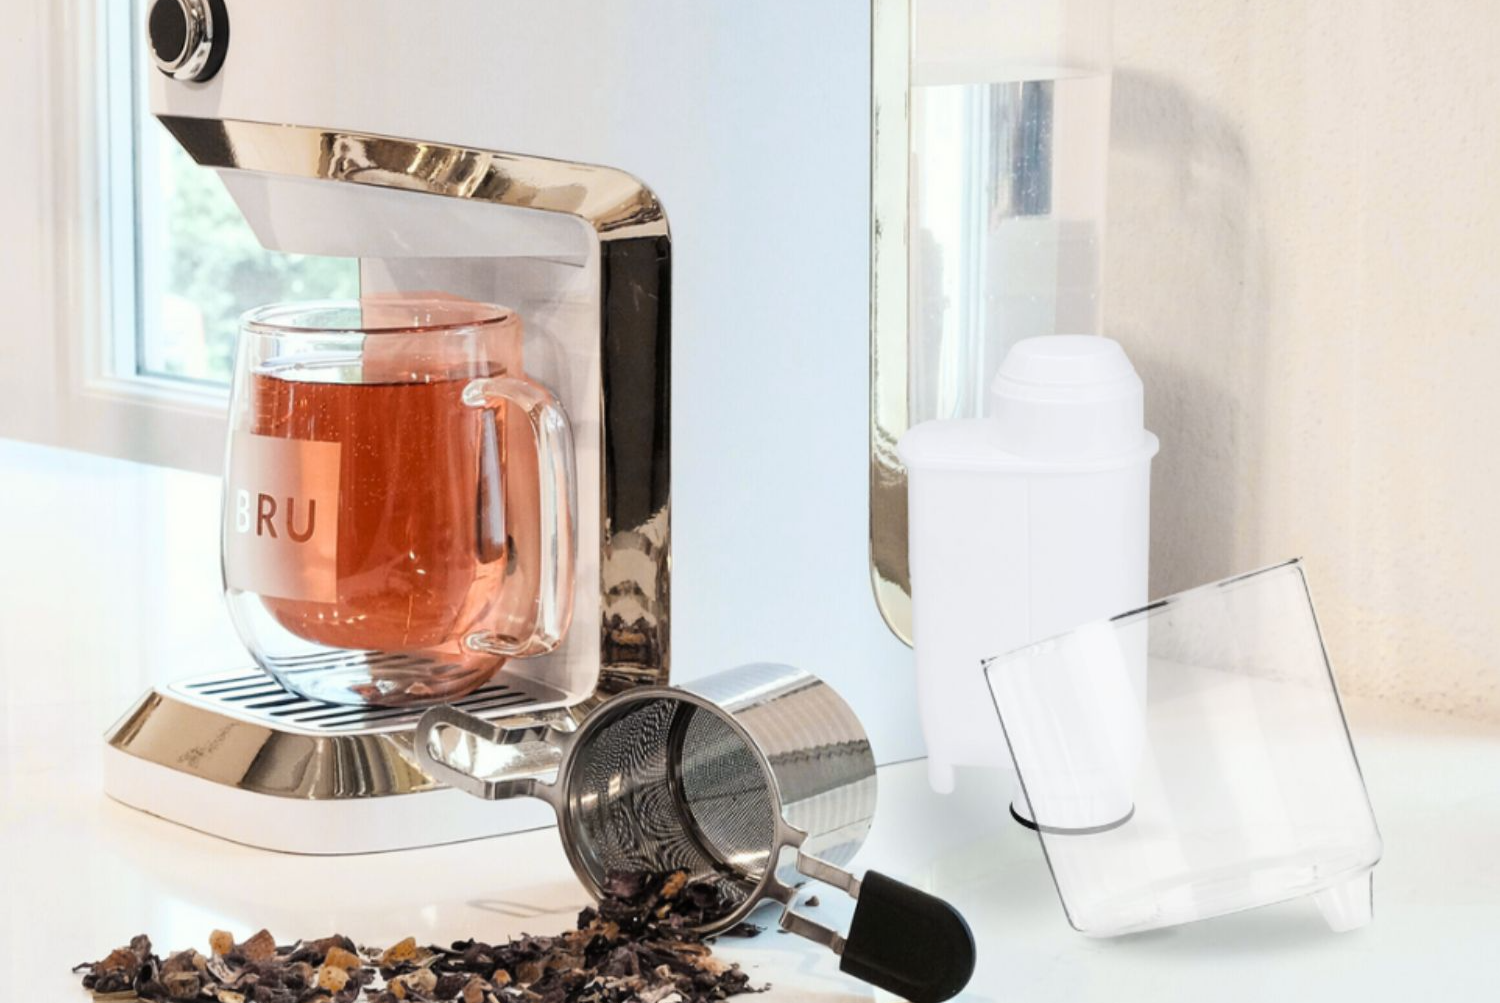
Tips for cleaning the BRU Maker One
The machine and its components should be cleaned regularly.
There are two things to consider first:
- Never use abrasive cleaners, solvents or scouring agents (such as metal sponges or scrapers) to clean the appliance. These could damage or scratch the surfaces. Always use a soft sponge or cloth and mild detergent.
- As the machine is an electrical appliance, ALWAYS disconnect the mains plug before cleaning the outside of the appliance. NEVER immerse your BRU Maker One in water.
Cleaning the outside of the machine and the underside of the lid
The outside of the machine should be cleaned as required. As soon as there is dust or stains on the outside, it is time to clean the machine.
Step 1: Unplug the machine.
Step 2: Moisten a soft dishcloth (and optionally add a little washing-up liquid) and carefully clean the machine. Open the lid, remove the filter and the glass brewing chamber. Then clean the inside of the machine and the area where the glass brewing chamber is normally located.
Step 3: Allow the machine to air dry or use a soft tea towel.
Cleaning the magnetic drip tray and drip grid (dishwasher-safe)
Clean the drip tray every time after emptying and also if necessary (e.g. if too many water stains have formed on it).
Step 1: Remove the drip tray from the machine.
Step 2: Remove the draining grid.
Step 3: Empty the drip tray.
Step 4: Put the draining rack and drip tray in the dishwasher or wash them by hand. Use warm water and a little washing-up liquid. Dry the parts with a tea towel.
Step 5: Place the drip grid back on the drip tray and insert it into the machine.
Cleaning the glass brewing chamber (dishwasher-safe)
When the rinse function we recommend cleaning the glass brewing chamber at least once a week. We recommend more frequent cleaning if this is deactivated.
NOTE: To avoid damage or breakage, please handle the glass brewing chamber with care. Particular care is required in the area of the outlet of the brewing chamber.
Step 1: Remove the glass brewing chamber from the appliance.
Step 2: Put it in the dishwasher or rinse it with warm water and a little mild washing-up liquid. Then dry the glass brewing chamber with a tea towel.
Step 3: Replace the glass brewing chamber.
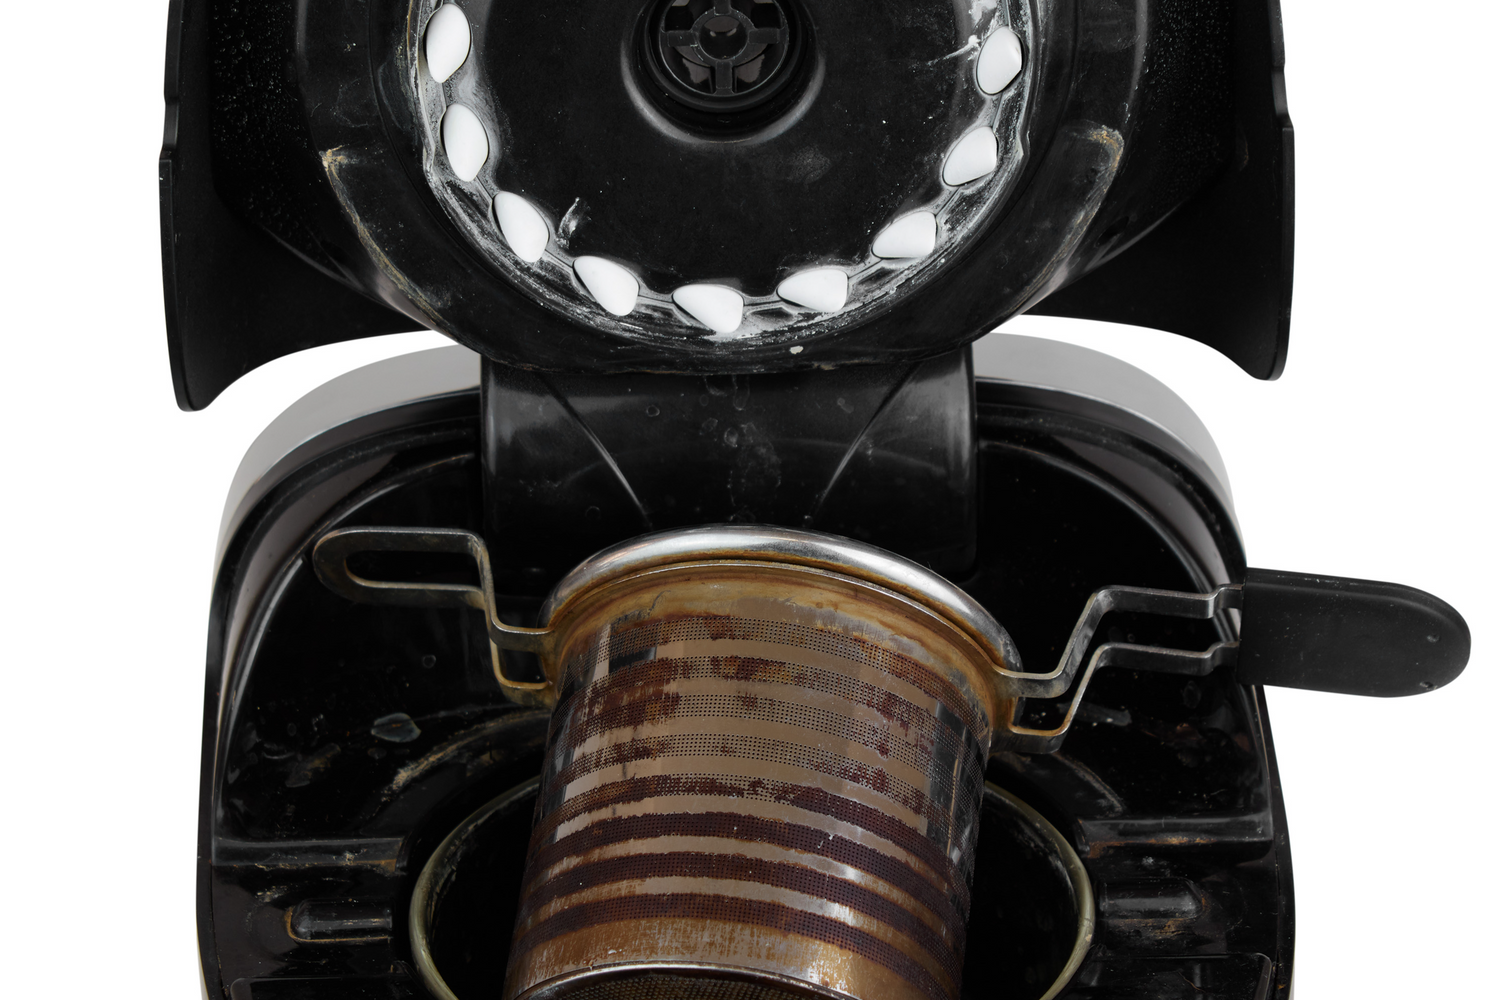
Cleaning the tea strainer and the tea strainer lid (dishwasher-safe)
The tea strainer should be emptied and rinsed out after each use. This will ensure that no tea residue builds up.
Step 1: Carefully open the machine lid! If you do this directly after brewing, steam may escape. Carefully remove the tea strainer, it may still be hot!
Step 2: Remove the lid of the tea strainer and dispose of the entire contents (in household waste, organic waste or compost).
Step 3: Rinse the tea strainer and lid with clean water to remove tea stains and tea leaf residue.
Step 4: Place the lid on the tea strainer and put it back in the machine.
We recommend cleaning the tea strainer and the tea strainer lid thoroughly about once a week:
Step 1: Remove the tea strainer and the tea strainer lid from the appliance and empty the contents as described above if necessary.
Step 2: Put the tea strainer and tea strainer lid in the dishwasher or clean them by hand with warm water and a little washing-up liquid. Then dry them with a tea towel.
Step 3: Replace the tea strainer and the tea strainer lid. Make sure that the handles are in the grooves.
Cleaning the water tank and lid (dishwasher-safe)
The water tank should be cleaned as soon as limescale deposits or water stains form on the inside or outside of the tank.
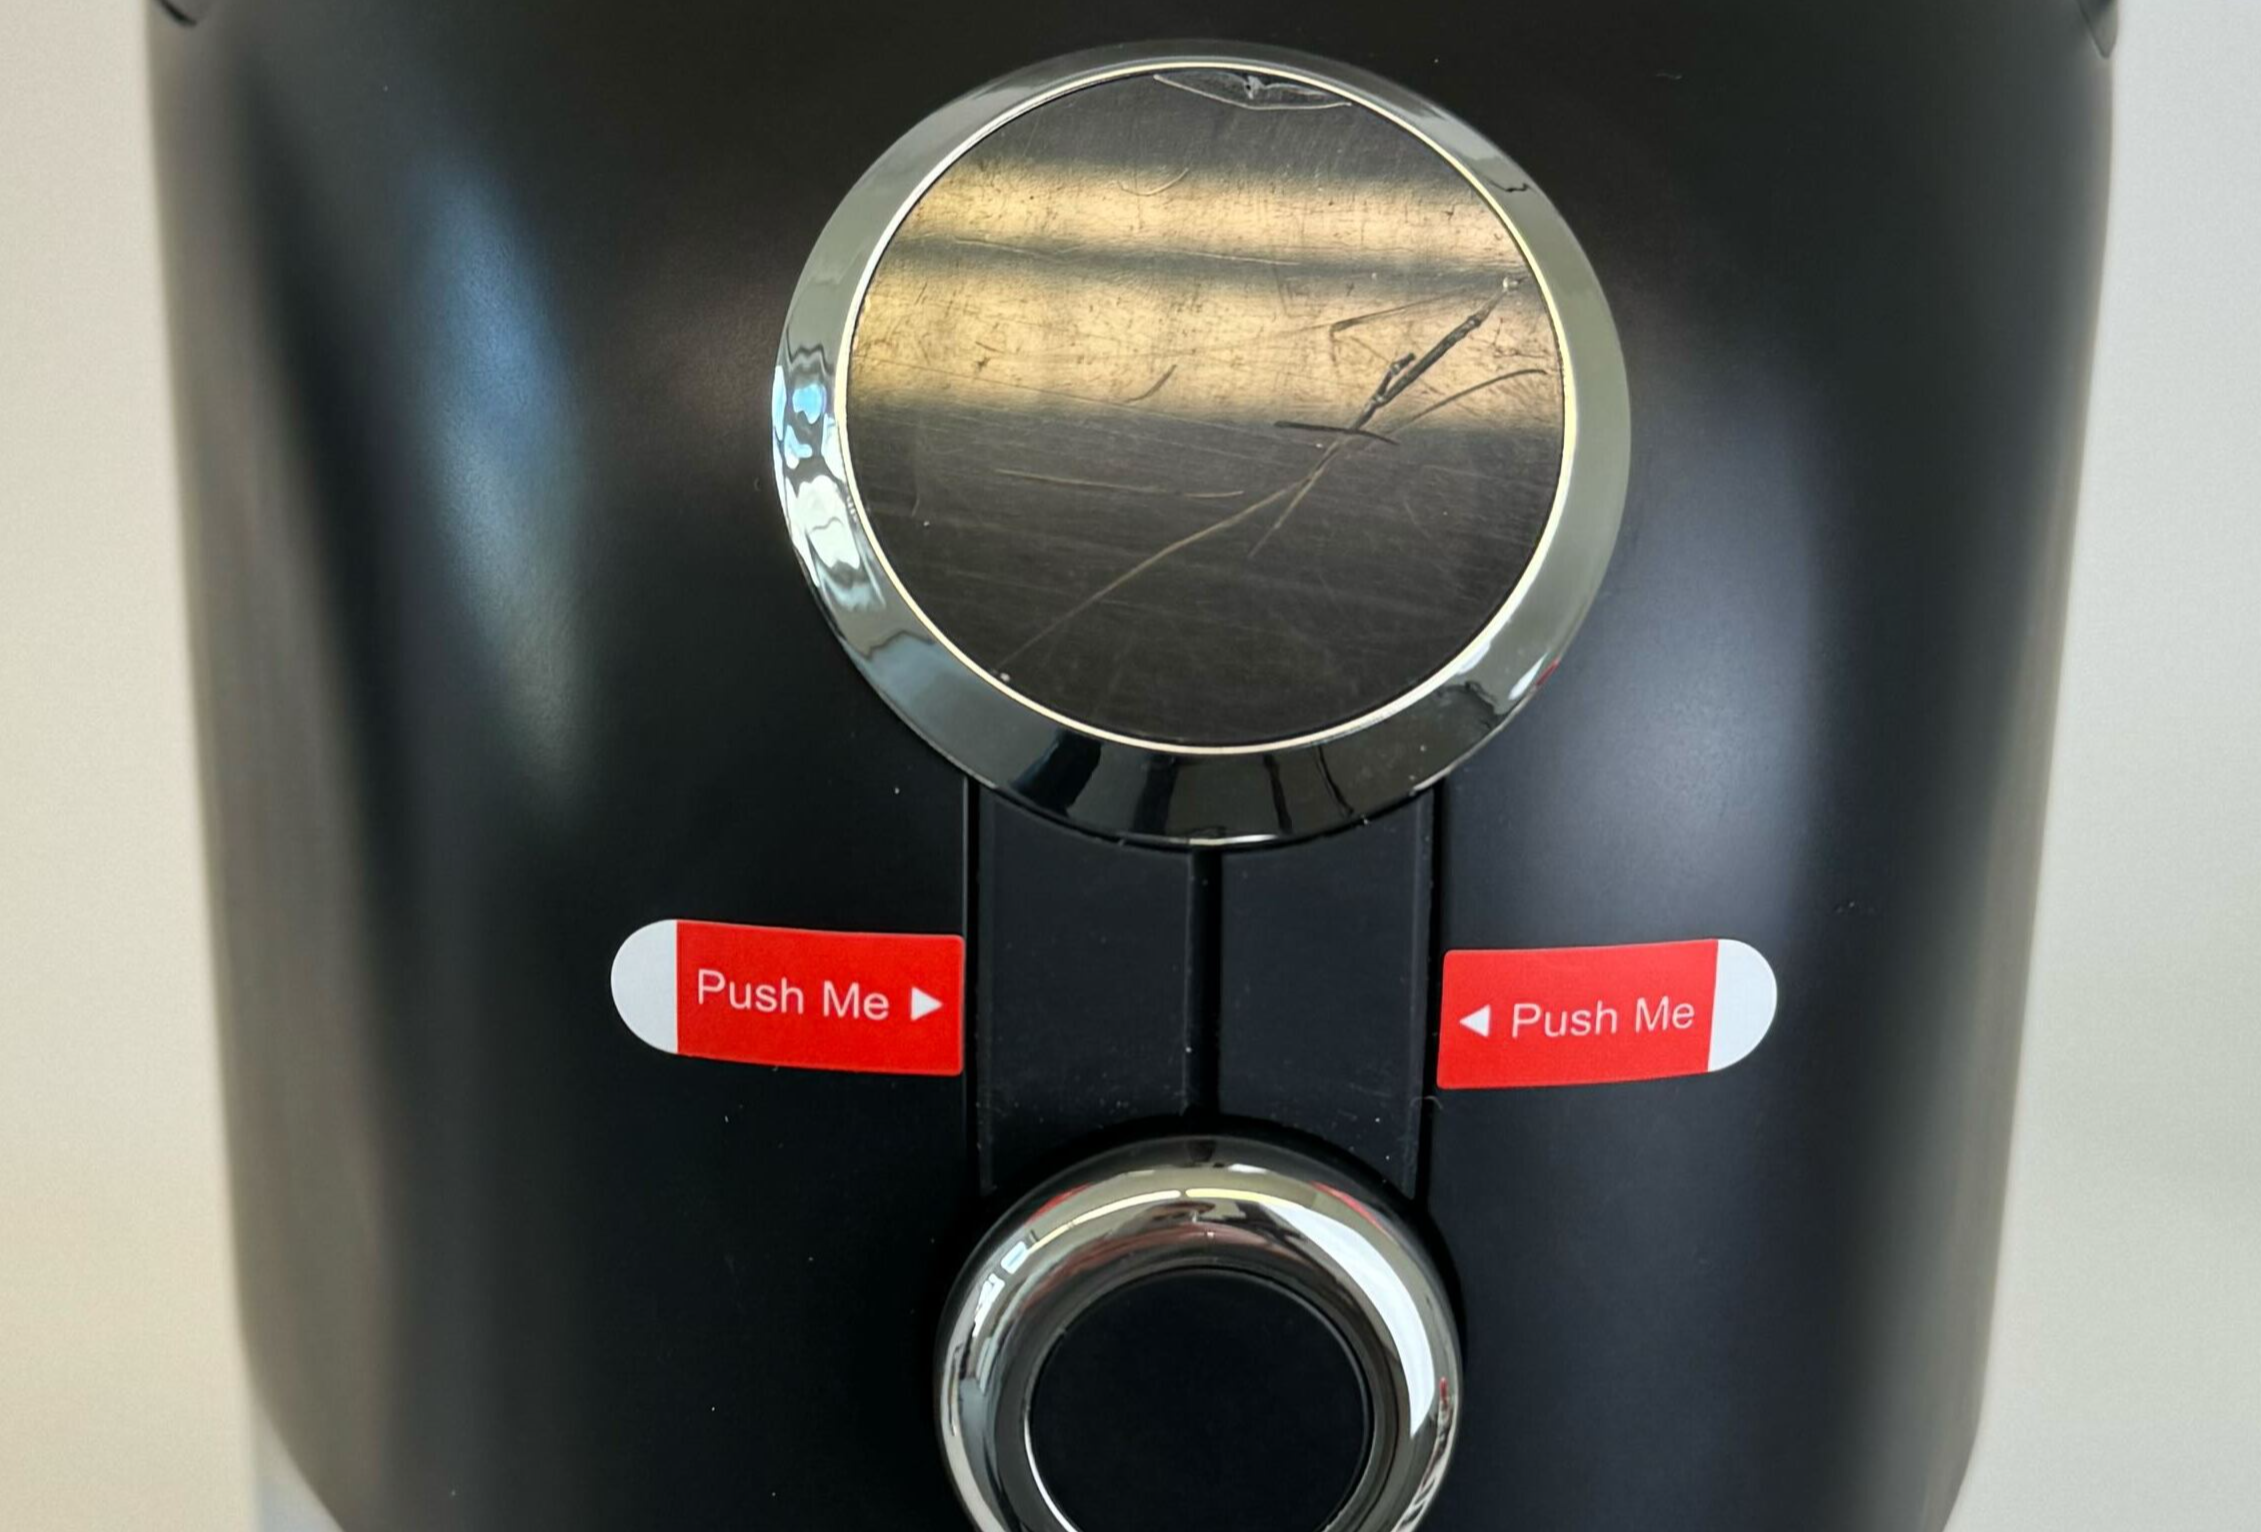
Step 1: Remove the water tank cover from the machine and slide the water tank upwards out of the machine.
Step 2: Rinse and clean the water tank and lid with warm water. water (and a little mild detergent) and dry it with a tea towel.
Step 3 Replace the water tank and the water tank lid. Carefully press it down until the top of the water tank lid is aligned with the top of the machine. This will ensure that the valve is correctly connected to the machine.
NOTE: If you have stubborn limescale deposits, you can find all the information on descalinghere.
Cleaning the silicone nozzle (dishwasher-safe)
As this topic requires a little more explanation, we have created a separate blog post about the silicone nozzle. Here you can access the article.
Leave a comment
This website is protected by hCaptcha and the terms and conditions and privacy policy of hCaptcha apply.